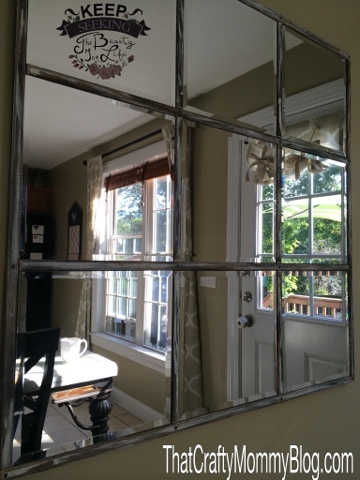
So I'm up to my usual non-sense....(that's what my hubby would say!) And changing up my kitchen!!! Changed the furniture layout.... And It needed a lighter more airy feel!!! So I'm trying to remove some of the black accents! Which is why I chose to go with a distressed/weathered look!!!
I was completely out of luck on this one!!! I tried both my local dollar stores and found 0 beveled mirrors :( Tis the season for weddings/parties!!! But I did find these larger 12" beveled tiles at Lowes! You get a box of 6 for $12. So not too bad?!
And I went with a 1/2" piece of plywood.
But it's about 38 7/8"x 38 7/8".
Now for my weathered look I pulled out my faves!!!
I did varying amounts of gray on one side and ash brown on the other...then streaked it with black.
You are going to want to throw some stain on your plywood! You will have some small areas that show through, so you want it to just blend away! I did a mix of stains. And don't forget to get your edge you'll see it in the finished project!
I started at one side and worked my way across.Glueing the wood trim with wood glue & the mirrors with mirror glue!!!
After everything was glued I add some carpet tacks. I love how they look like antique nails!!!! And they did act as a little extra support! Bonus!
I used d-ring hangers to mount my mirror. I first found my studs measured and marked were they were in my wall, and attached my d-rings to the back of my mirror at that width! I chose to put my d-rings just below my first row of mirrors right behind the row of trim! Just to give myself more depth to screw through!


No comments:
Post a Comment